How to Trim Insoles to Fit Your Shoes
Trim-to-fit insoles come in a few broad sizes, so they often need a little cutting to match your shoe. With a pen, sharp scissors and about 15 minutes, you can get a flat, snug fit.
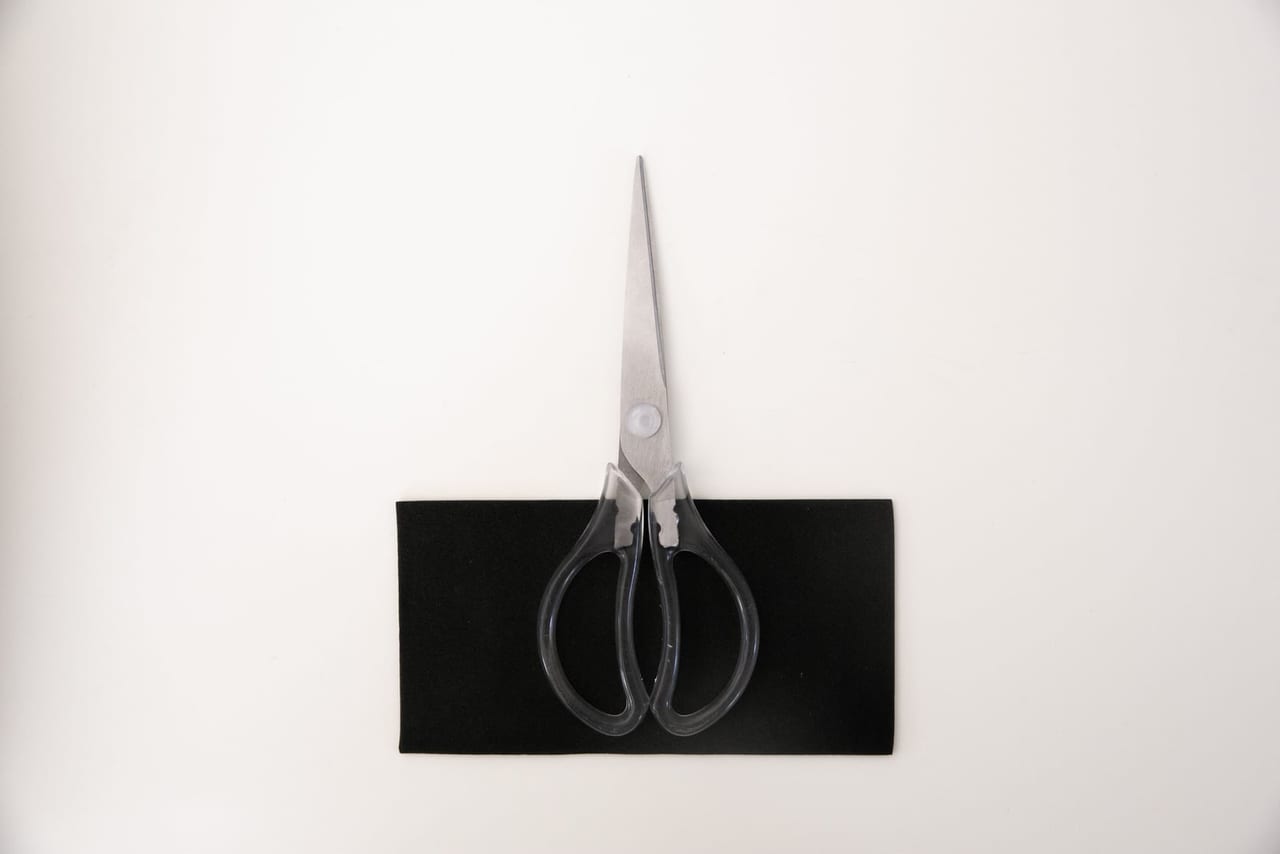
You take a new pair of insoles out of the box, hold one against the shoe it's meant for and find that it's longer than the shoe's own insole. It looks like the wrong size, but trim-to-fit insoles are made to arrive this way, left for you to cut down to the shoe in front of you. The cutting itself is small work, though it rewards a little care.
That care shows up as a pause before the first cut. Whatever the scissors take off can't be put back, and with the insole in your hand it isn't obvious how much of that extra length is meant to go, or where the scissors should start.
The short answer
To trim an insole, take the original out of the shoe, lay it on the new insole with the heels lined up, and trace around the toe. Cut just outside the line and test the fit, trimming a little more only if the toe still curls, then trim the second insole the same way. Avoid cutting the heel or the arch, trimming both insoles before testing one, and stacking the new insole on the old one. If a trimmed insole still presses or rubs, don't wait for it to ease, and if you have diabetes or reduced feeling in your feet, check with your care team before you start wearing new insoles.
Why most insoles need trimming
A trim-to-fit insole is unfinished on purpose. These insoles are usually sold in a handful of sizes, each spanning several shoe sizes, and to work in the largest shoe of its range an insole has to start out long, so smaller shoes need the toe cut back. Shoe shapes add a second reason: two shoes of the same size can end in a pointed, rounded or square toe, and one can be roomier than the other. That's why the toe is where most trimming happens, and why an insole that already lies flat from heel to toe, without curling at the front or bunching at the sides, can be left alone.
The guide to the shape you want is already in your shoe. The insole that came with it was cut for that exact shoe, so its outline is the right one, and tracing it is more accurate than marking the new insole inside the shoe, where you can't see the edge you're following. Lay the two together with the heels lined up, and whatever part of the new insole sticks out beyond the original, mostly at the toe, is what you trace and cut away.
How to trim insoles, step by step
You need sharp scissors, a pen or fine marker that shows clearly on the insole's top fabric, and the original insole from each shoe, which is the template for that foot. Sharp blades matter because dull ones can tear the top layer and leave a ragged edge that catches on the shoe. Work on a flat, well-lit surface, cut away from your fingers, and finish one insole before you start the second, keeping the fabric top facing up so your line follows the outline you see. Have the socks you usually wear ready for the fit test, since thicker socks take up room in the shoe.
Choose the size that covers yours
Start with the insole size whose range includes your shoe size. If you fall between two sizes, the larger one leaves you material to trim.
Take out the original insole
Pull the shoe's own insole out and keep track of which is left and which is right. It is your cutting guide.
Line up the heels and trace
Lay the original insole on top of the new one for the same foot, both top side up, with the heels together. Hold them still and trace around the toe, and along the sides only where the new insole sticks out.
Cut just outside the line
Use sharp scissors and cut in long, smooth strokes just outside the line. You can always take a little more off later, but you cannot add it back.
Test the fit in the shoe
Slide the insole in heel first and press it flat. It should lie flat without curling at the toe, with the heel seated at the back; if the toe still curls, trim a sliver more and test again.
Trim the second insole to match
Trim the other insole the same way, using the other shoe's original insole. Then hold the two new insoles sole to sole, like palms together, to check that their edges match.
A few habits are worth avoiding as you go. Cutting both insoles before testing either skips the chance to adjust, so fit the first, correct it and only then do the second, tracing each new insole from the original for the same foot so left and right stay straight. And don't stack the new insole on the old one: a full-length insole should replace the original, not sit on top of it, because two layers crowd your toes and lift your heel, as insole fit basics explains.
What a good trim looks like
A well-trimmed insole lies flat and stays put. One that's too long curls up against the front of the shoe and can leave a ridge under your toes, while one cut too short can slide forward and leave a gap at the heel. On a supportive insole, the heel cup and the arch are the shaped parts, so leave them as they are; trimming belongs at the toe, and along the sides of the forefoot only if the insole buckles there.
A good trim also begins before the scissors come out, with the size whose range includes your shoe size. If you fall between two sizes, choose the larger, and take the extra off a little at a time until the insole matches the outline of the original. Once the pair lies flat in its shoes, there's nothing more to cut.
When discomfort may mean something more
A new insole can feel different at first, especially under the arch, and many people notice it for a while, which is an ordinary part of settling in. How to ease in is covered in how to break in new insoles. A first trim doesn't have to be perfect, either: if the toe still curls at the fit test, take a sliver more off and test again. Where you feel something is a useful clue. Awareness under the arch that fades over the first few days is your foot getting used to the new shape, while a rub along an edge or at the toe usually points back to the trim.
Pay closer attention if the same spot presses or rubs every time, if an edge digs into the side of your foot, or if you notice blisters, numbness or tingling. Check the trim and the size first, and have your feet checked if the signs continue.
Questions people ask
What if I cut an insole too short?
A little short is usually fine, as long as your heel sits in the heel cup and the insole doesn't slide. If it shifts when you walk or leaves a clear gap, it may suit a slightly smaller shoe better.
How do I trim an insole if the shoe's insole is glued in?
Use the shoe as your guide. Slide the new insole in, press it flat and mark where the toe starts to curl up, then trim off the excess a little at a time, testing as you go. Over a glued-in insole, a thin insole usually fits better than a thick one.
Can I move trimmed insoles to another pair of shoes?
Yes, if the two pairs of shoes are close in size and shape. Trim for the snugger pair: the insole may shift a little in the roomier one, but an insole trimmed for a roomy shoe can buckle in a snug one.
The bottom line
An insole that comes out of the box longer than the shoe's own is not a mistake. It's meant to be finished by you, and the outline you need is already inside your own shoe, so the work calls for patience more than precision.